[Day28] 쇼핑몰 실습 - 로그인 & 다중 서버 세션 문제
오늘은 로그인과 CORS 위주로 실습이 진행되었다.
수업을 들을 땐 뭔가 따라가기 바빴는데 정리를 하면서 조금씩 이해가 된다 !
로그인 처리
백엔드 (BACK)
데이터 접근 계층(DAO) : MemberDao.java
👉 데이터베이스에서 회원 정보 조회
- 데이터베이스에서 이메일과 비밀번호가 일치하는 회원 정보를 조회하는 메서드
- 조회된 회원이 존재하면 닉네임 정보를 설정하고 반환
1
2
3
4
5
6
7
8
9
10
11
12
13
14
15
16
17
18
public Member login(Member m) throws Exception {
    Class.forName(DB_DRIVER);

    String sql = "select * from member where email = '" + m.getEmail() + "' and pwd = '" + m.getPwd() + "' ";
    try(
        Connection con=DriverManager.getConnection(DB_URL, DB_USER, DB_PW);
        Statement stmt = con.createStatement();
        ResultSet rs = stmt.executeQuery(sql);
        ) {
        if(rs.next()) { // login ok
            String nickname = rs.getString("nickname");
            m.setNickname(nickname);
            return m;
        } else {
            return null;
        }
    }
}
서비스 계층 (Service) : MemberService.java
👉 memberDao.login(m)을 호출하여 로그인 검증을 수행
1
2
3
public Member login(Member m) throws Exception {
    return memberDao.login(m);
}
컨트롤러 (Controller) : MemberController.java
👉 /login 엔드포인트를 통해 클라이언트 로그인 요청을 처리
- 로그인 성공 시 세션(session)에 사용자 정보를 저장
1
2
3
4
5
6
7
8
9
10
11
12
13
14
15
16
17
18
19
@PostMapping("login")
public Map<String, String> login(@RequestBody Member m, HttpServletRequest request) {
    Map<String,String> responseData=new HashMap();
    try {
        m=memberService.login(m);
        if(m!=null) {//login ok
            HttpSession session=request.getSession();
            System.out.println(session.getId());
            session.setAttribute("member", m);
            responseData.put("msg","ok");
        }else {//login fail
            responseData.put("msg","다시 로그인 해주세요");
        }
    } catch (Exception e) {//login error
        e.printStackTrace();
        responseData.put("msg","다시 로그인 해주세요");
    }
    return responseData;
}
프론트엔드 (FRONT)
index.js (로그인 이벤트 처리)
- 사용자가 입력한 이메일과 비밀번호를 서버로 전송
- fetch API를 이용하여 /login 요청 후 응답 메시지를 alert으로 출력
1
2
3
4
5
6
7
8
9
10
11
12
13
14
document.getElementById("loginBtn").addEventListener("click", async () => {
  const email = document.getElementById("loginEmail").value;
  const pwd = document.getElementById("loginPwd").value;
  const data = { email, pwd };
  let response = await fetch("http://localhost:8080/login", {
    method: "POST",
    headers: {
      "Content-Type": "application/json",
    },
    body: JSON.stringify(data),
  });
  response = await response.json();
  alert(response.msg);
});
CORS 오류
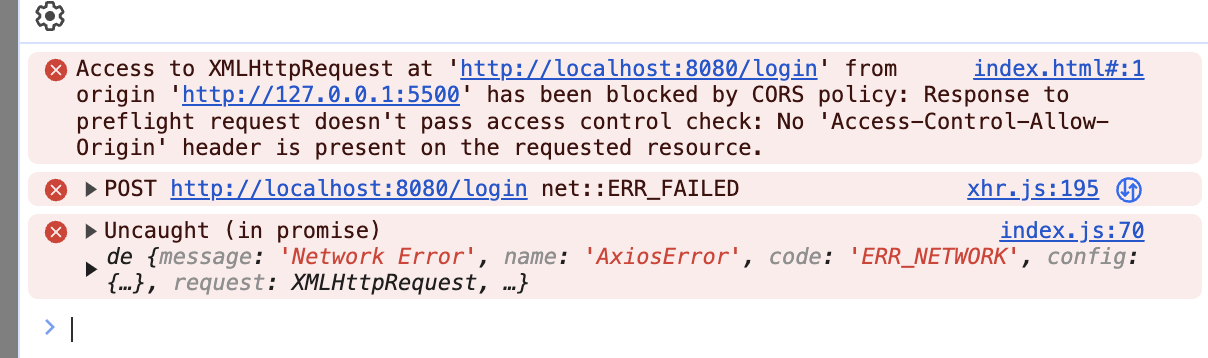
1
Access to fetch at 'http://localhost:8080/login' from origin 'http://127.0.0.1:5500' has been blocked by CORS policy
- 프론트엔드(5500 포트)와 백엔드(8080 포트)가 다르므로 CORS 정책에 의해 차단됨
- Access-Control-Allow-Origin 헤더가 응답에 포함되지 않아 브라우저에서 요청을 막음
해결 방법
- 백엔드에서 CORS 설정 추가 (MyConfig.java) - 특정 출처(127.0.0.1:5500) 허용
- 프론트엔드에서 axios 사용 및 withCredentials 설정 추가
다중 서버에서 세션 문제 해결하기
프론트엔드 - axios 사용
🔹 index.html에서 axios cdn 설정
1
<script src="https://unpkg.com/axios/dist/axios.min.js"></script>
🔹 index.js에서 axios에 withCredentials 설정 -> 세션 정보 유지
1
axios.defaults.withCredentials = true;
🔹 index.js에서 login 요청을 axios로 변경
1
2
3
4
5
6
7
document.getElementById("loginBtn").addEventListener("click", async () => {
  const email = document.getElementById("loginEmail").value;
  const pwd = document.getElementById("loginPwd").value;
  const data = {  email, pwd };
  let response = await axios.post("http://localhost:8080/login", data );
  alert(response.data.msg);
});
백엔드 - CORS 설정 추가
🔹 MyConfig.java 생성
- WebMvcConfigurer를 구현하여 CORS 정책을 설정.
- allowedOrigins에 프론트엔드 도메인 추가.
- allowCredentials(true)를 설정하여 쿠키와 세션을 허용.
1
2
3
4
5
6
7
8
9
10
11
12
13
14
15
import org.springframework.context.annotation.Configuration;
import org.springframework.web.servlet.config.annotation.CorsRegistry;
import org.springframework.web.servlet.config.annotation.WebMvcConfigurer;

@Configuration
public class MyConfig implements WebMvcConfigurer{
	@Override
	public void addCorsMappings(CorsRegistry registry) {
		registry.addMapping("/**")
		.allowedOrigins("http://127.0.0.1:5500/")
		.allowedMethods("*")
		.allowedHeaders("*")
		.allowCredentials(true); //쿠키, 세션 정보도 허용
	}
}
결과 : 로그인 성공 & 쿠키에 JSESSIONID 저장됨
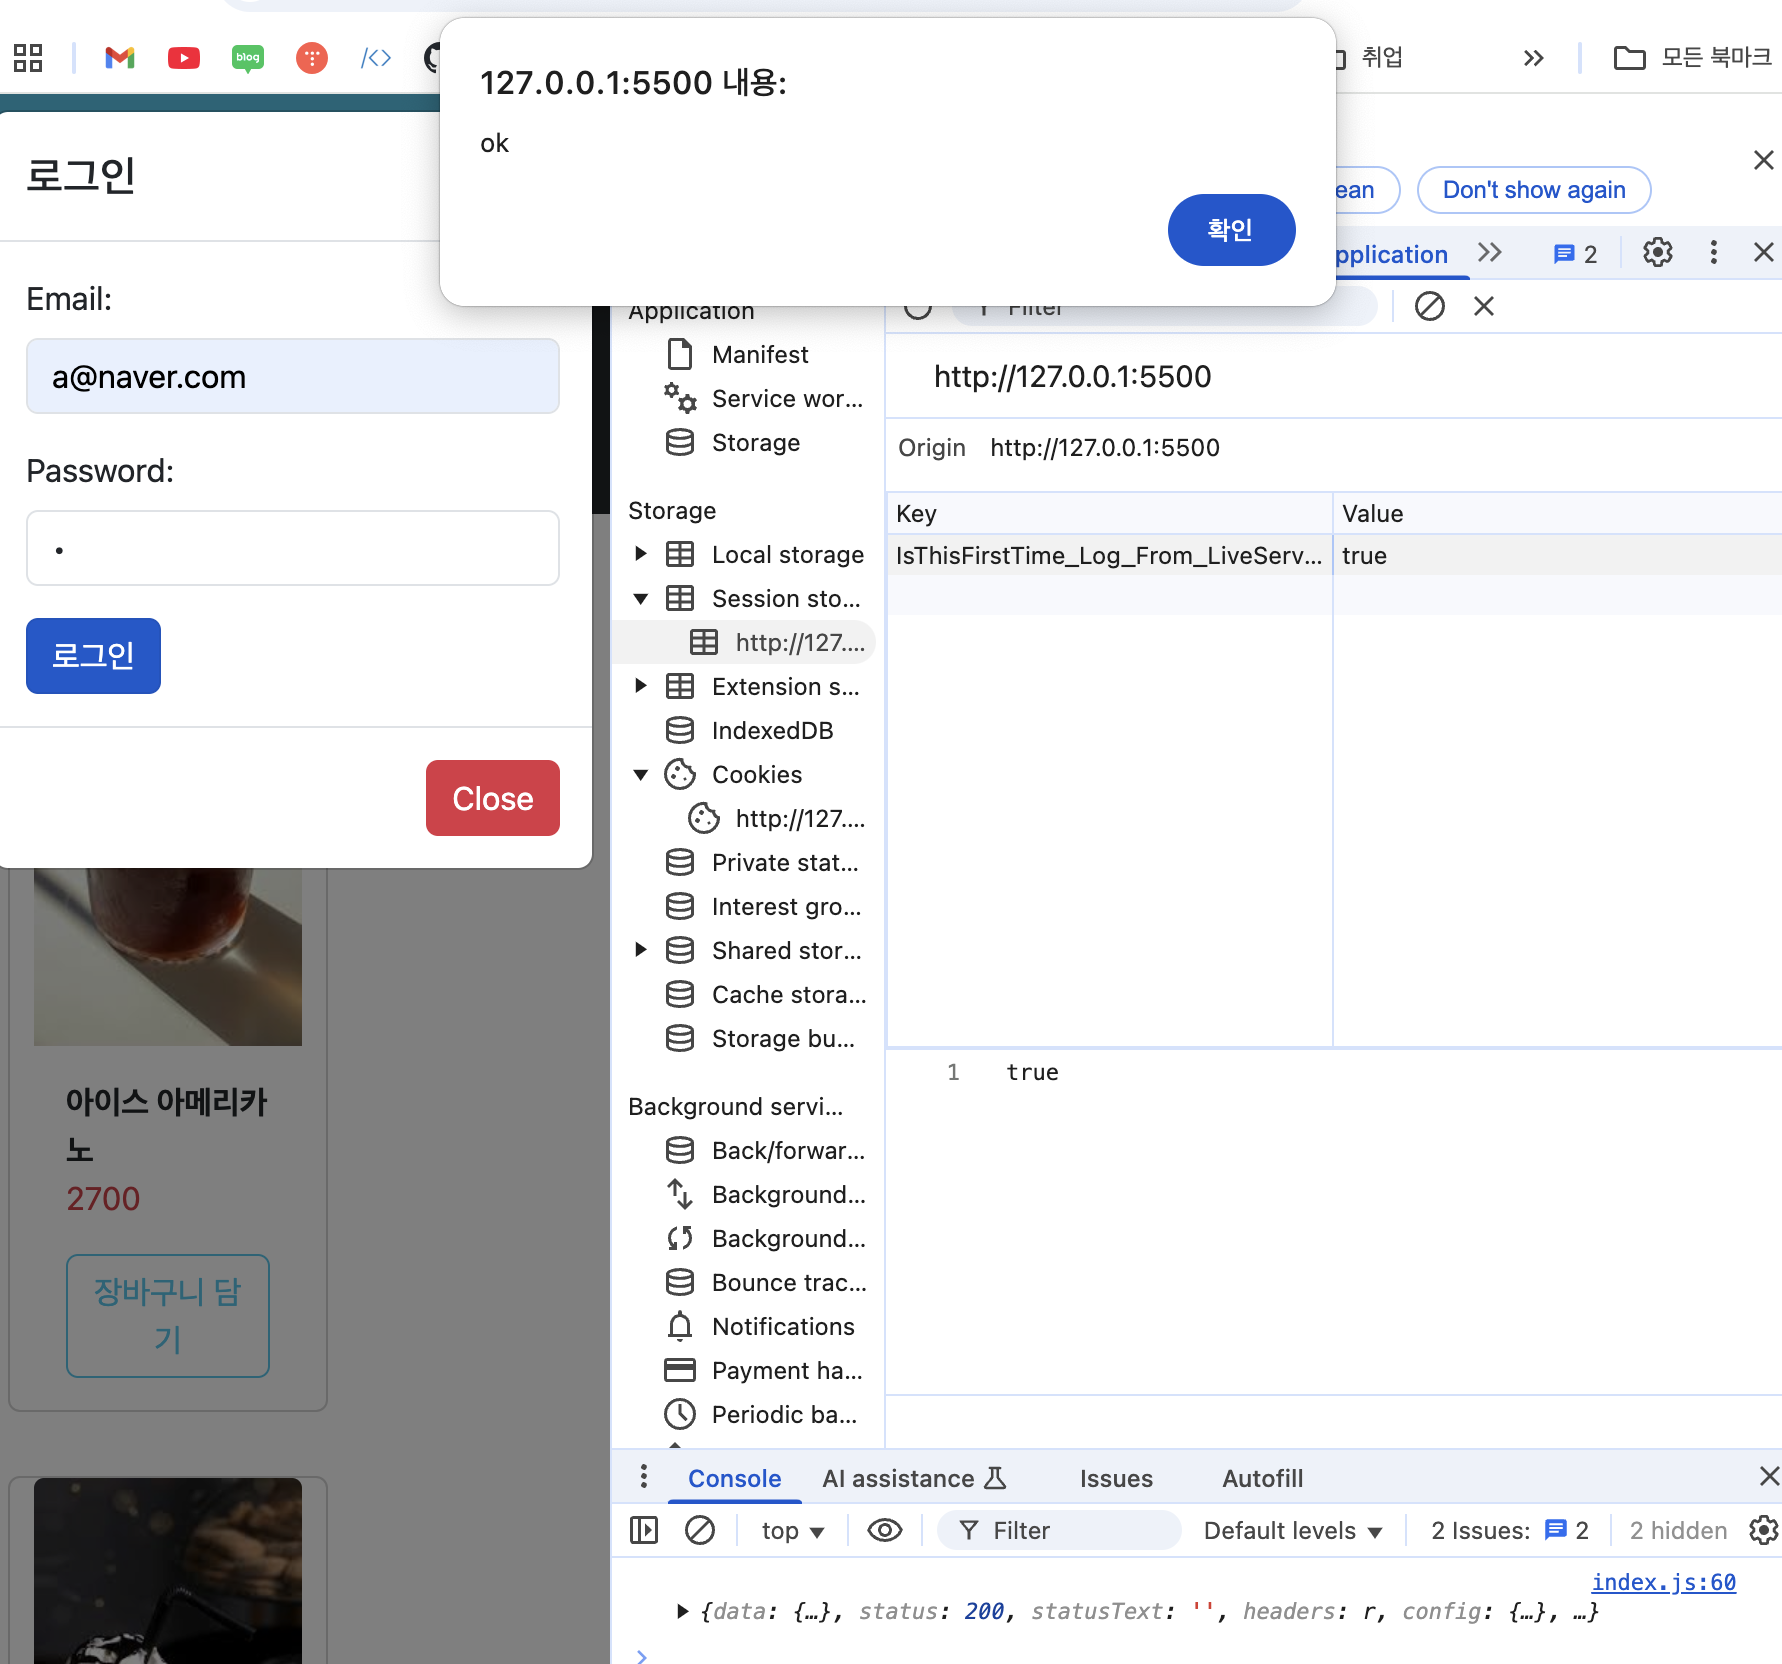
JSESSIONID에 로그인 정보 저장 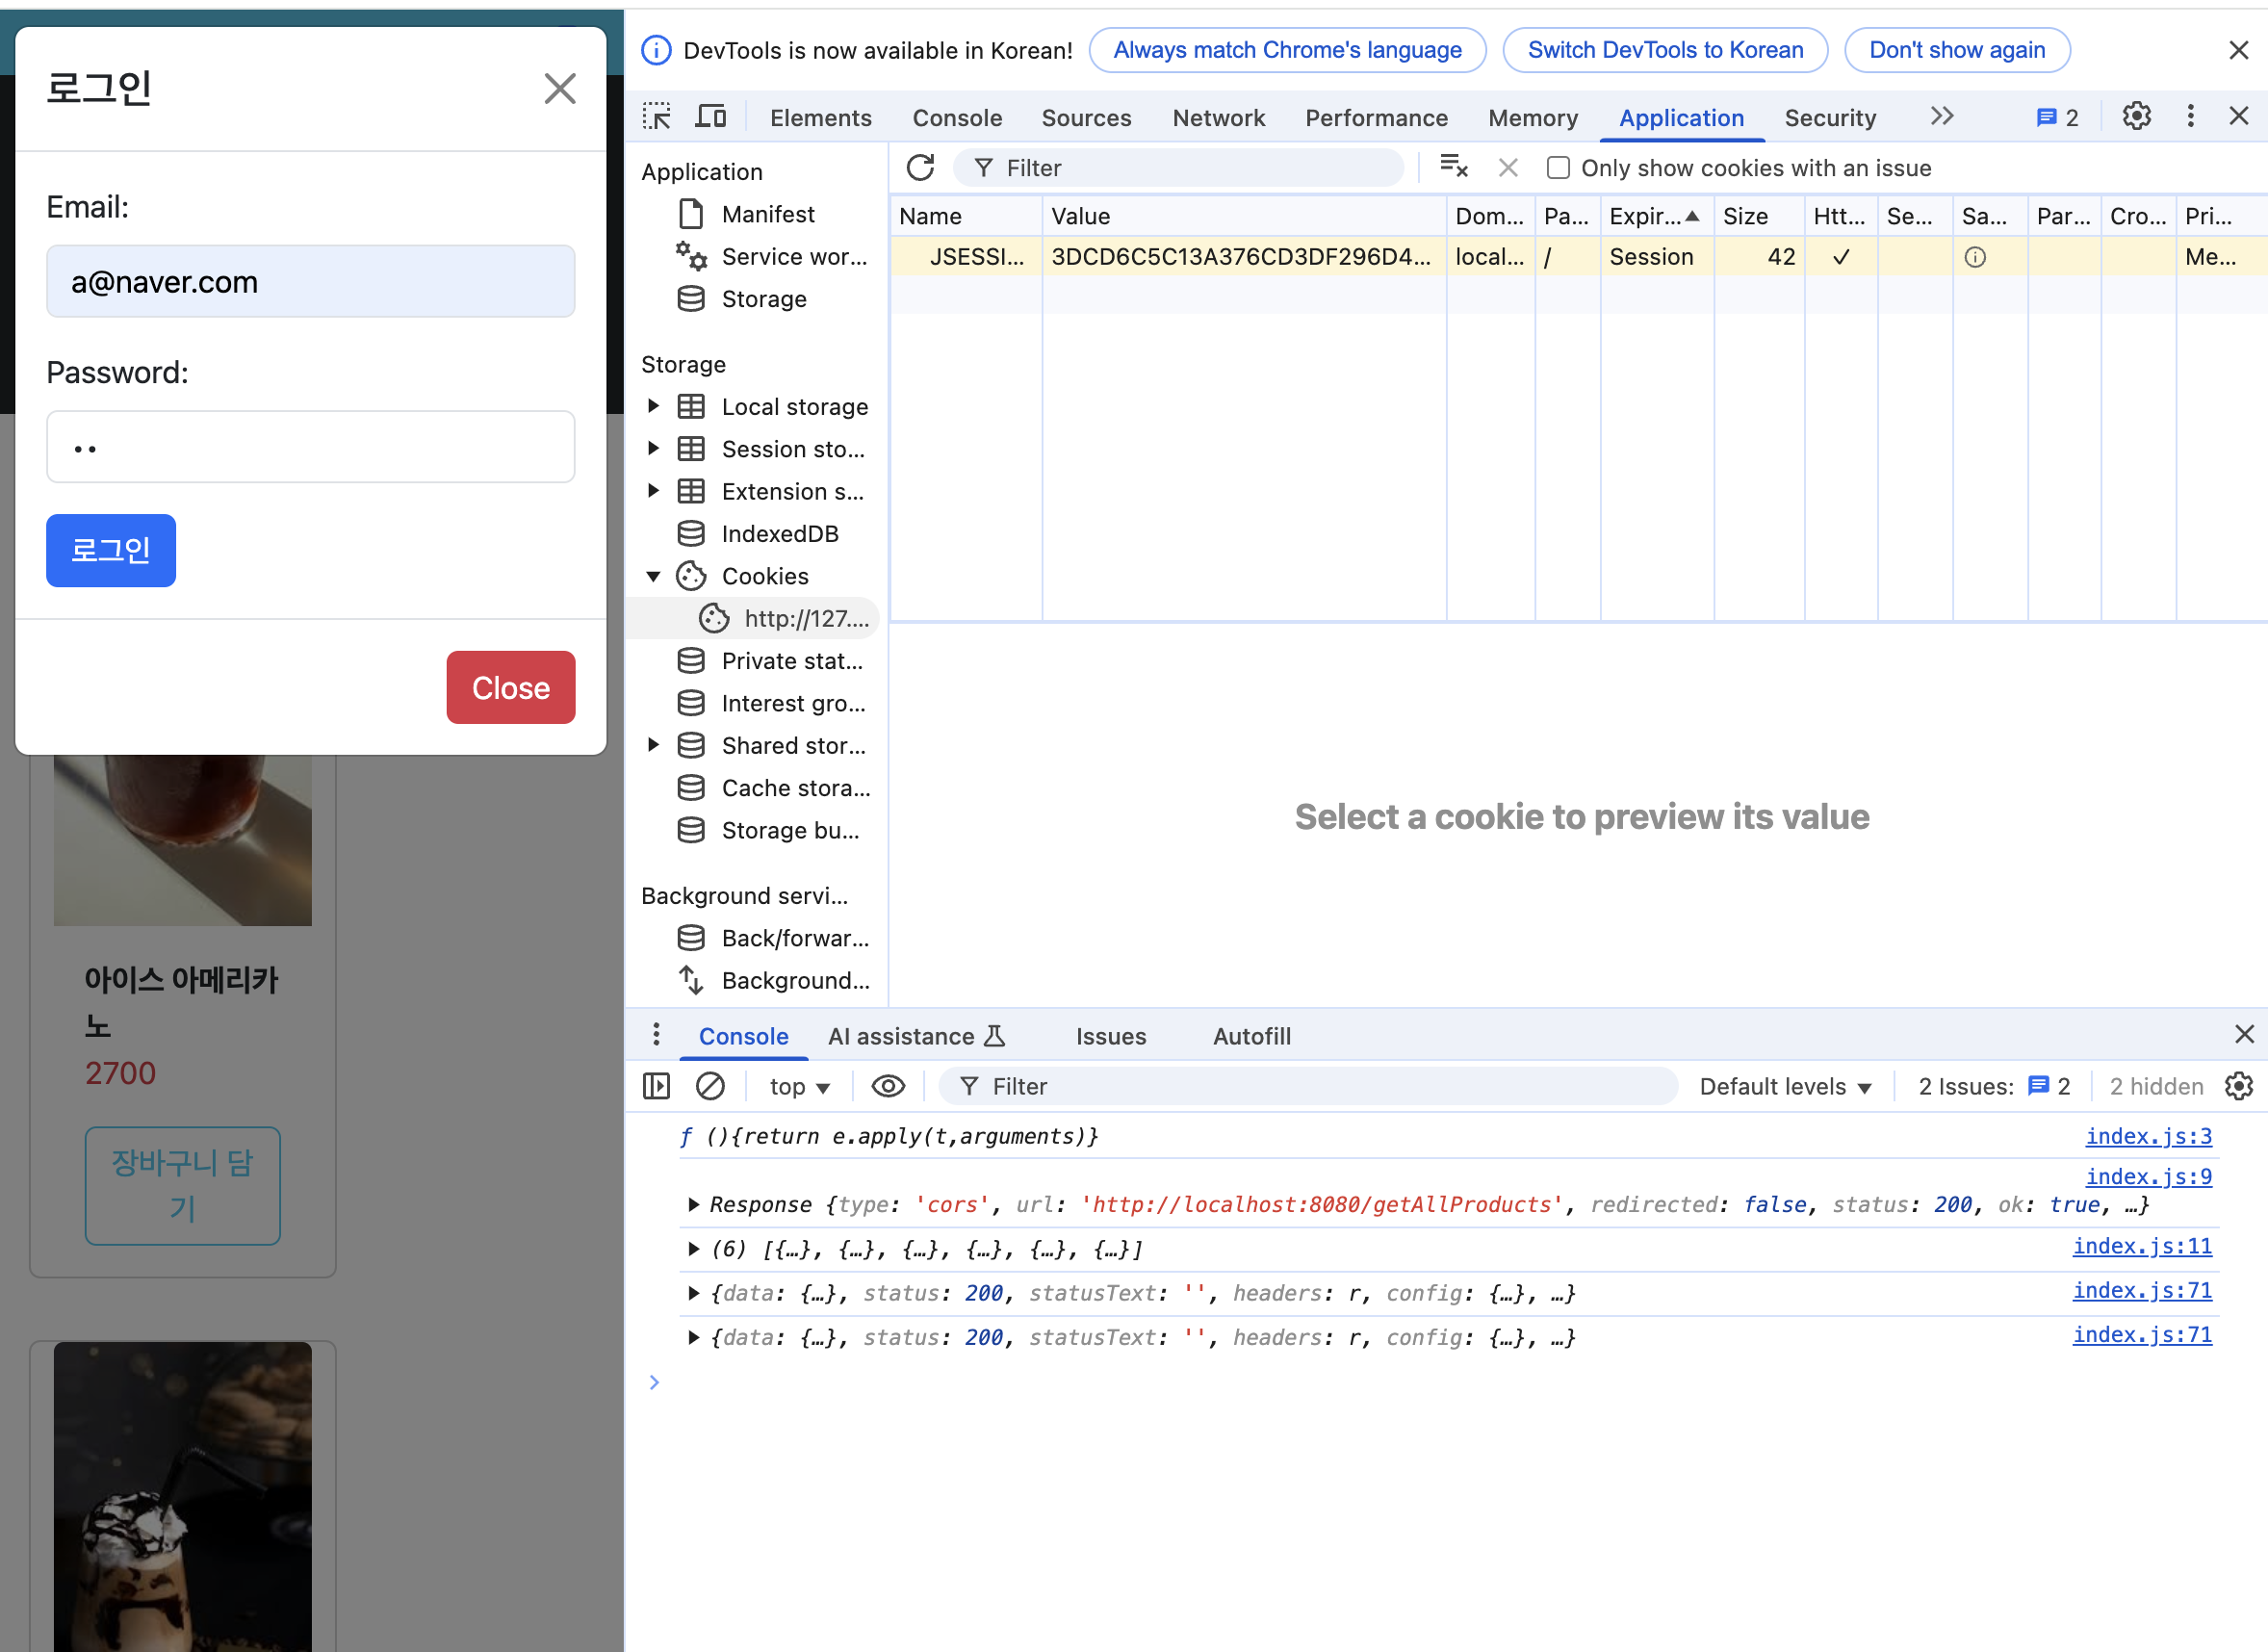
Spring에도 session.getId() 찍힘. 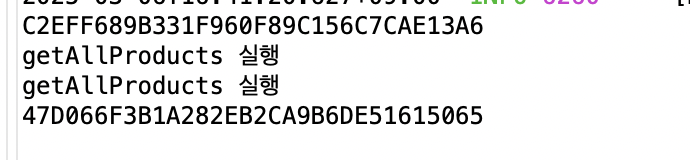
🔄 새로고침하면 로그인이 풀리는 이유?
새로고침을 하면 index.html을 새로 로드되면서 모든 내용이 사라지고 다시 구성되는것임
-> 그래서 이전에 js로 했던 작업이 모두 날라가는 것임.
이를 해결하기 위해서?
로그인 후에 정보를 새로고침 이후에도 남겨놓을 수 있는 저장소에 저장을 해둬야함.
-> Storage
✅ 보안상으로는 다 위험하지만 조금 덜 위험한 session storage를 사용한다.
로그인 화면이 갱신되는 문제 처리
로그인 성공 시 사용자 정보 저장
1
2
3
4
5
6
7
8
9
10
11
document.getElementById("loginBtn").addEventListener("click", async () => {
  const email = document.getElementById("loginEmail").value;
  const pwd = document.getElementById("loginPwd").value;
  let response = await axios.post("http://localhost:8080/login", { email, pwd });

  if (response.data.msg === "ok") {
    bootstrap.Modal.getInstance(document.getElementById("loginModal")).hide();
    document.getElementById("loginSpan").innerHTML = email;
    sessionStorage.setItem("email", email);
  }
});
새로고침 후 로그인 유지
window.onload에서 sessionStorage 확인하여 로그인 상태 유지
1
2
3
4
5
6
window.onload = () => {
  const email = sessionStorage.getItem("email");
  if (email) {
    document.getElementById("loginSpan").innerHTML = email + `<button id="logout">logout</button>`;
  }
};
로그아웃 기능 추가
로그아웃 버튼 클릭 시 sessionStorage 삭제 후 새로고침
1
2
3
4
5
6
document.getElementById("loginSpan").addEventListener("click", (event) => {
  if (event.target.id === "logout") {
    sessionStorage.removeItem("email");
    window.location.reload();
  }
});
전체 코드
결과 : session storage에 저장 + 새로고침해도 로그인 유지
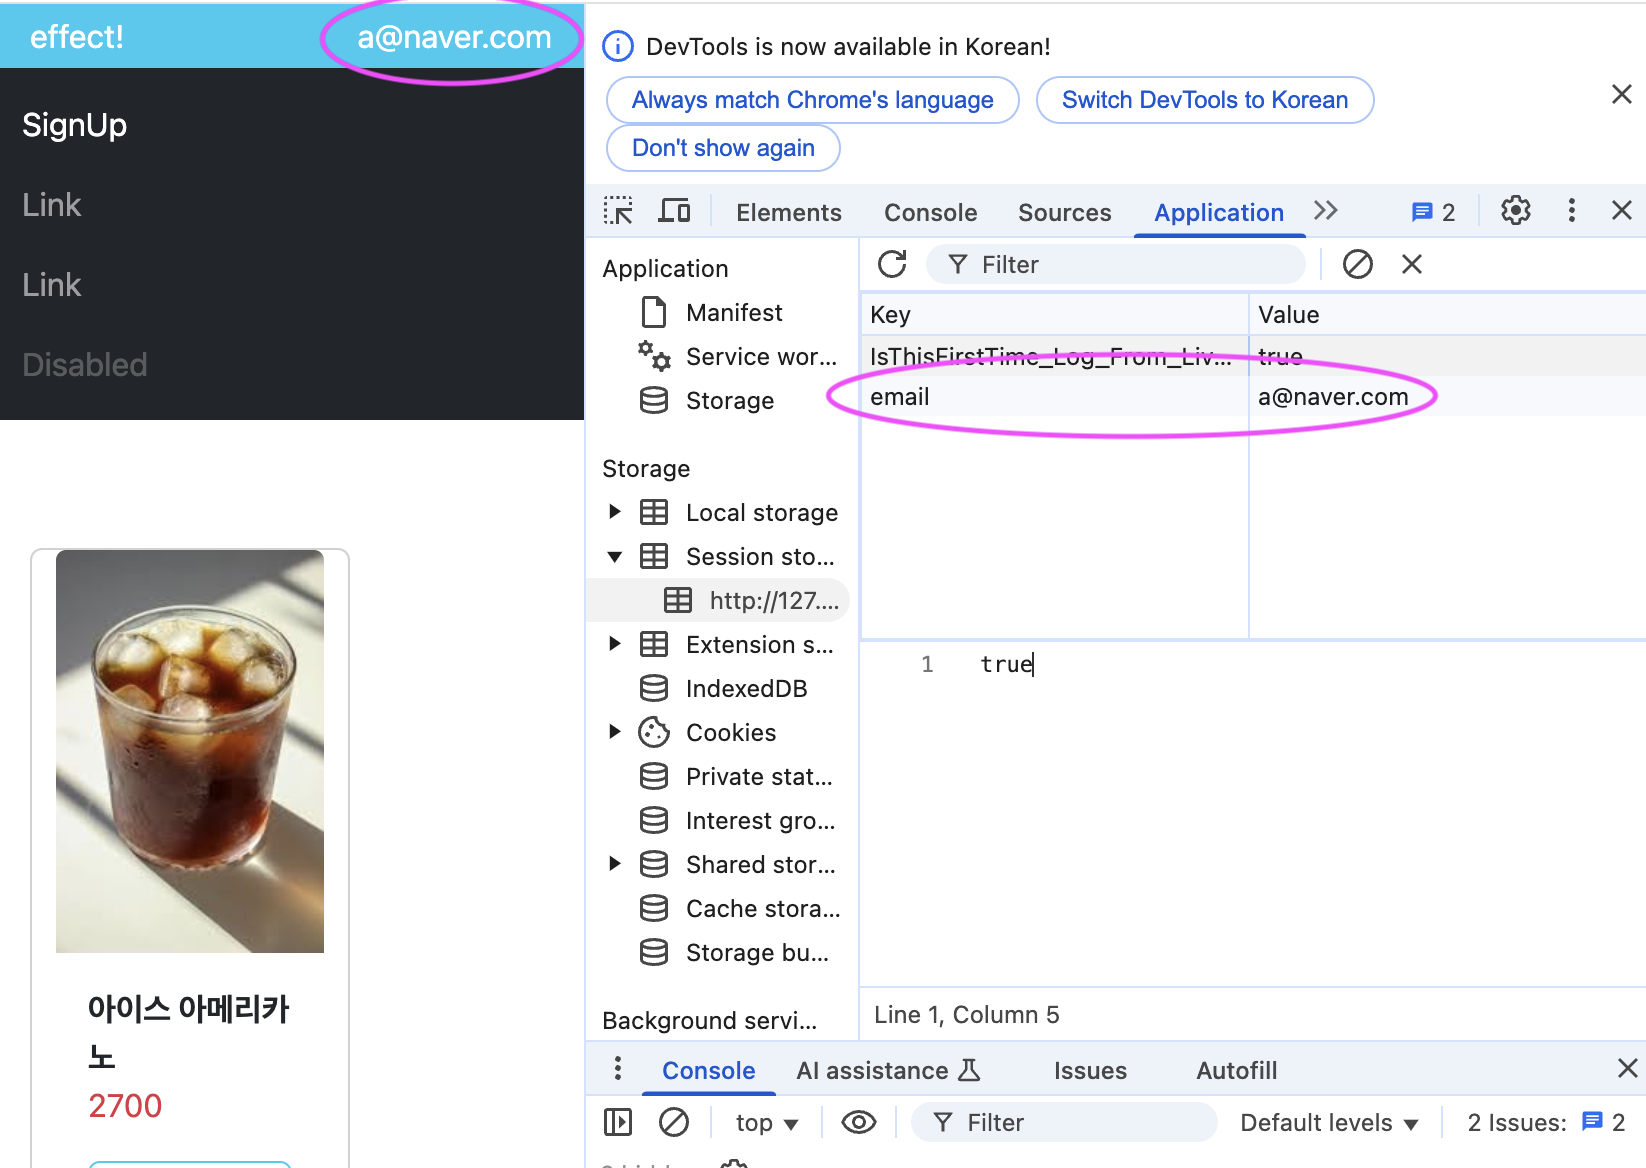
JSESSIONID가 요청에 포함되지 않는 문제 해결
- 프론트엔드(:5500)에서 로그인 요청을 보낼 때, 백엔드(:8080)에서 JSESSIONID가 쿠키로 발급됨.
- 하지만, 다음 요청 시 브라우저가 JSESSIONID 쿠키를 포함하지 않음.
해결 방법 1. 구조 변경
MyConfig.java 에서 credential 해제
👉 기존의 CORS 설정(@CrossOrigin)을 삭제하고, 정적 리소스를 사용하도록 변경
1
2
3
4
5
6
7
8
9
10
11
12
13
14
15
import org.springframework.context.annotation.Configuration;
import org.springframework.web.servlet.config.annotation.CorsRegistry;
import org.springframework.web.servlet.config.annotation.WebMvcConfigurer;

@Configuration
public class MyConfig implements WebMvcConfigurer{
//	@Override
//	public void addCorsMappings(CorsRegistry registry) {
//		registry.addMapping("/**")
//		.allowedOrigins("http://127.0.0.1:8080/")
//		.allowedMethods("*")
//		.allowedHeaders("*")
//		.allowCredentials(true); //쿠키, 세션 정보도 허용
//	}
}
모든 Controller에서 @CrossOrigin 해제
👉 백엔드에서 CORS를 직접 해결하지 않고, 프론트엔드를 Spring 정적 리소스로 제공하도록 변경
정적 리소스(html, css, js)를 백엔드 프로젝트 내로 이동
1
2
3
4
5
6
src/main/resources/static/
 ├── index.html
 ├── css/
 │   ├── style.css
 ├── js/
 │   ├── index.js
프론트엔드 (index.js) 변경 사항
👉 axios.withCredentials 설정 제거
- axios.defaults.withCredentials = true; → 삭제
- 모든 API 요청 URL을 절대경로(http://localhost:8080/…)에서 상대경로(getAllProducts 등)로 변경
- HTML이 :8080에서 서빙되므로 같은 도메인에서 요청이 이루어짐
1
2
3
4
5
6
7
8
9
10
11
12
13
14
15
16
17
18
19
20
//let productList=await fetch("http://localhost:8080/getAllProducts", { method:"GET"});
let productList=await fetch("getAllProducts", { method:"GET"});

let response = await fetch("insertMember", { // fetch("http://localhost:8080/insertMember"
    method: "POST",
    headers: {
        "Content-Type": "application/json",
    },
    body: JSON.stringify(data),
});
let response = await fetch("login", { // fetch("http://localhost:8080/login"
    method: "POST",
    headers: {
      "Content-Type": "application/json",
    },
    body: JSON.stringify(data),
});

// axios.post("http://localhost:8080/addCart");
axios.post("addCart");
addCart 찍히는 모습
